Podcasting guides
October 20, 2026



To make a podcast sound better, fix four things before buying any gear: microphone distance (a hand's width from your mouth), the room (soft surfaces, no echo), levels (voice peaking around -12dB, music 10-15dB under it), and mic technique (headphones on, speak slightly off-axis). Most audio complaints trace back to one of these.
Diagnose by symptom before changing anything. Listen back to a recent episode, identify what bothers you, and start with the matching fix below.
| What you hear | Likely cause | Fix (step) |
|---|---|---|
| Voice sounds thin, distant | Mic too far from mouth | Mic placement (step 1) |
| Echo or "bathroom" sound | Reflective, bare room | Recording space (step 2) |
| Hiss or background hum | Low voice-to-noise ratio | Mic placement (step 1) |
| Listener keeps adjusting volume | Inconsistent levels | Sound levels (step 3) |
| Music drowns the voice | Music mixed too hot | Sound levels (step 3) |
| Popping on P and B sounds | Speaking straight into the mic | Mic technique (step 4) |
| Distortion on laughs | Loud input too close | Mic technique (step 4) |
| Rustling and bumps | Handling noise | Mic technique (step 4) |
Microphone placement is the single biggest improvement you can make to an existing show, and it costs nothing. Hold your hand open and measure a thumb-to-pinky span, roughly 15-20 cm, between your mouth and the microphone. At that distance your voice arrives at the capsule much louder than the room around you, which raises the signal-to-noise ratio: more of what you want on the recording, less of what you don't.
Move the mic too far away and the balance flips. The fridge, the street, and the room's echo all rise relative to your voice, and no amount of editing fully separates them again. Move it too close and you get boomy low end and constant plosives. The hand-span distance is the working compromise, and it holds for almost any mic: a USB dynamic, a smartphone held near your chin, or a lavalier clipped high on your chest. If your recordings sound thin or noisy today, check this before blaming the equipment.
The room shapes your sound before any electronics get involved. Hard, parallel surfaces (bare walls, windows, wooden floors) bounce your voice back into the microphone a few milliseconds late, and that reflected copy is what listeners hear as echo, ring, or a hollow phasing quality. Soft and irregular surfaces absorb and scatter those reflections instead. A bedroom with a bed, curtains, and a carpet routinely beats a tidy kitchen or a glass-walled meeting room, whatever mic you use.
Test any candidate space with a single clap. Stand where you plan to record, clap once, and listen to what comes back. A tight, dead "thap" means the room is absorbing reflections and you can record there. A ringing tail or a metallic flutter means the room will fight you. To improve a lively room without spending money, add what you already own: hang a duvet behind you, open a wardrobe full of clothes, pull the curtains, throw cushions into bare corners. For interviews outside a controlled space entirely, Nomono's guide to recording a podcast outside the studio covers location choices in more depth.
Consistent levels keep listeners from reaching for the volume control, and inconsistent levels are one of the fastest ways to lose them. Aim for your voice to peak around -12dB on your recorder or software meter, both while recording and when checking the edit. That target leaves headroom for laughs and emphasis without clipping, while staying loud enough that you are not amplifying noise later to compensate.
Background music sits well below the voice, not beside it. Set music 10-15dB under your speech, so if your voice peaks at -12dB, the music peaks around -22 to -27dB. Music mixed hotter than that forces listeners to strain for the words, and it is a complaint audiences act on by leaving. Check the balance on small speakers or cheap earbuds as well as good headphones, because a mix that works on studio monitors often buries the voice on a phone speaker.
Between guests, level differences matter just as much. If one host peaks at -12dB and the other at -24dB, the listener gets blasted every time the conversation turns, so match input gain per person during a short test recording before you start. Nomono's post on editing for audio quality covers fixing levels after the fact.
Microphone technique is the habit layer on top of placement: staying aware of where the mic is and what it is picking up for the whole session rather than only at setup. Two habits carry most of the benefit. First, wear headphones while you record. Headphones let you hear the actual recording in real time, so a plosive, a bumped table, or creeping distortion gets caught and re-taken on the spot instead of discovered in the edit.
Second, manage your angle and distance dynamically. Speak slightly off-axis, across the front of the microphone rather than directly into it, so the puffs of air on P and B sounds miss the capsule. When you laugh, shout, or raise your voice for emphasis, lean back a little; the extra distance stops the peak from distorting. Between those moments, drift back to the hand-span position. Also mind handling noise: every tap, cable rustle, and grip adjustment lands on the recording at full level, so clip a lavalier securely and keep loose clothing away from it. The Nomono pillar guide to podcast recording goes deeper on technique, pickup patterns, and multi-person setups.
The four steps above raise the ceiling of whatever gear you own, and for a solo show recorded at a desk they may be all you ever need. The limits show up in specific situations: recording three or four people at once, recording on location where you cannot control the room, or spending more hours cleaning audio than making episodes. At that point the constraint is the setup, not the technique.
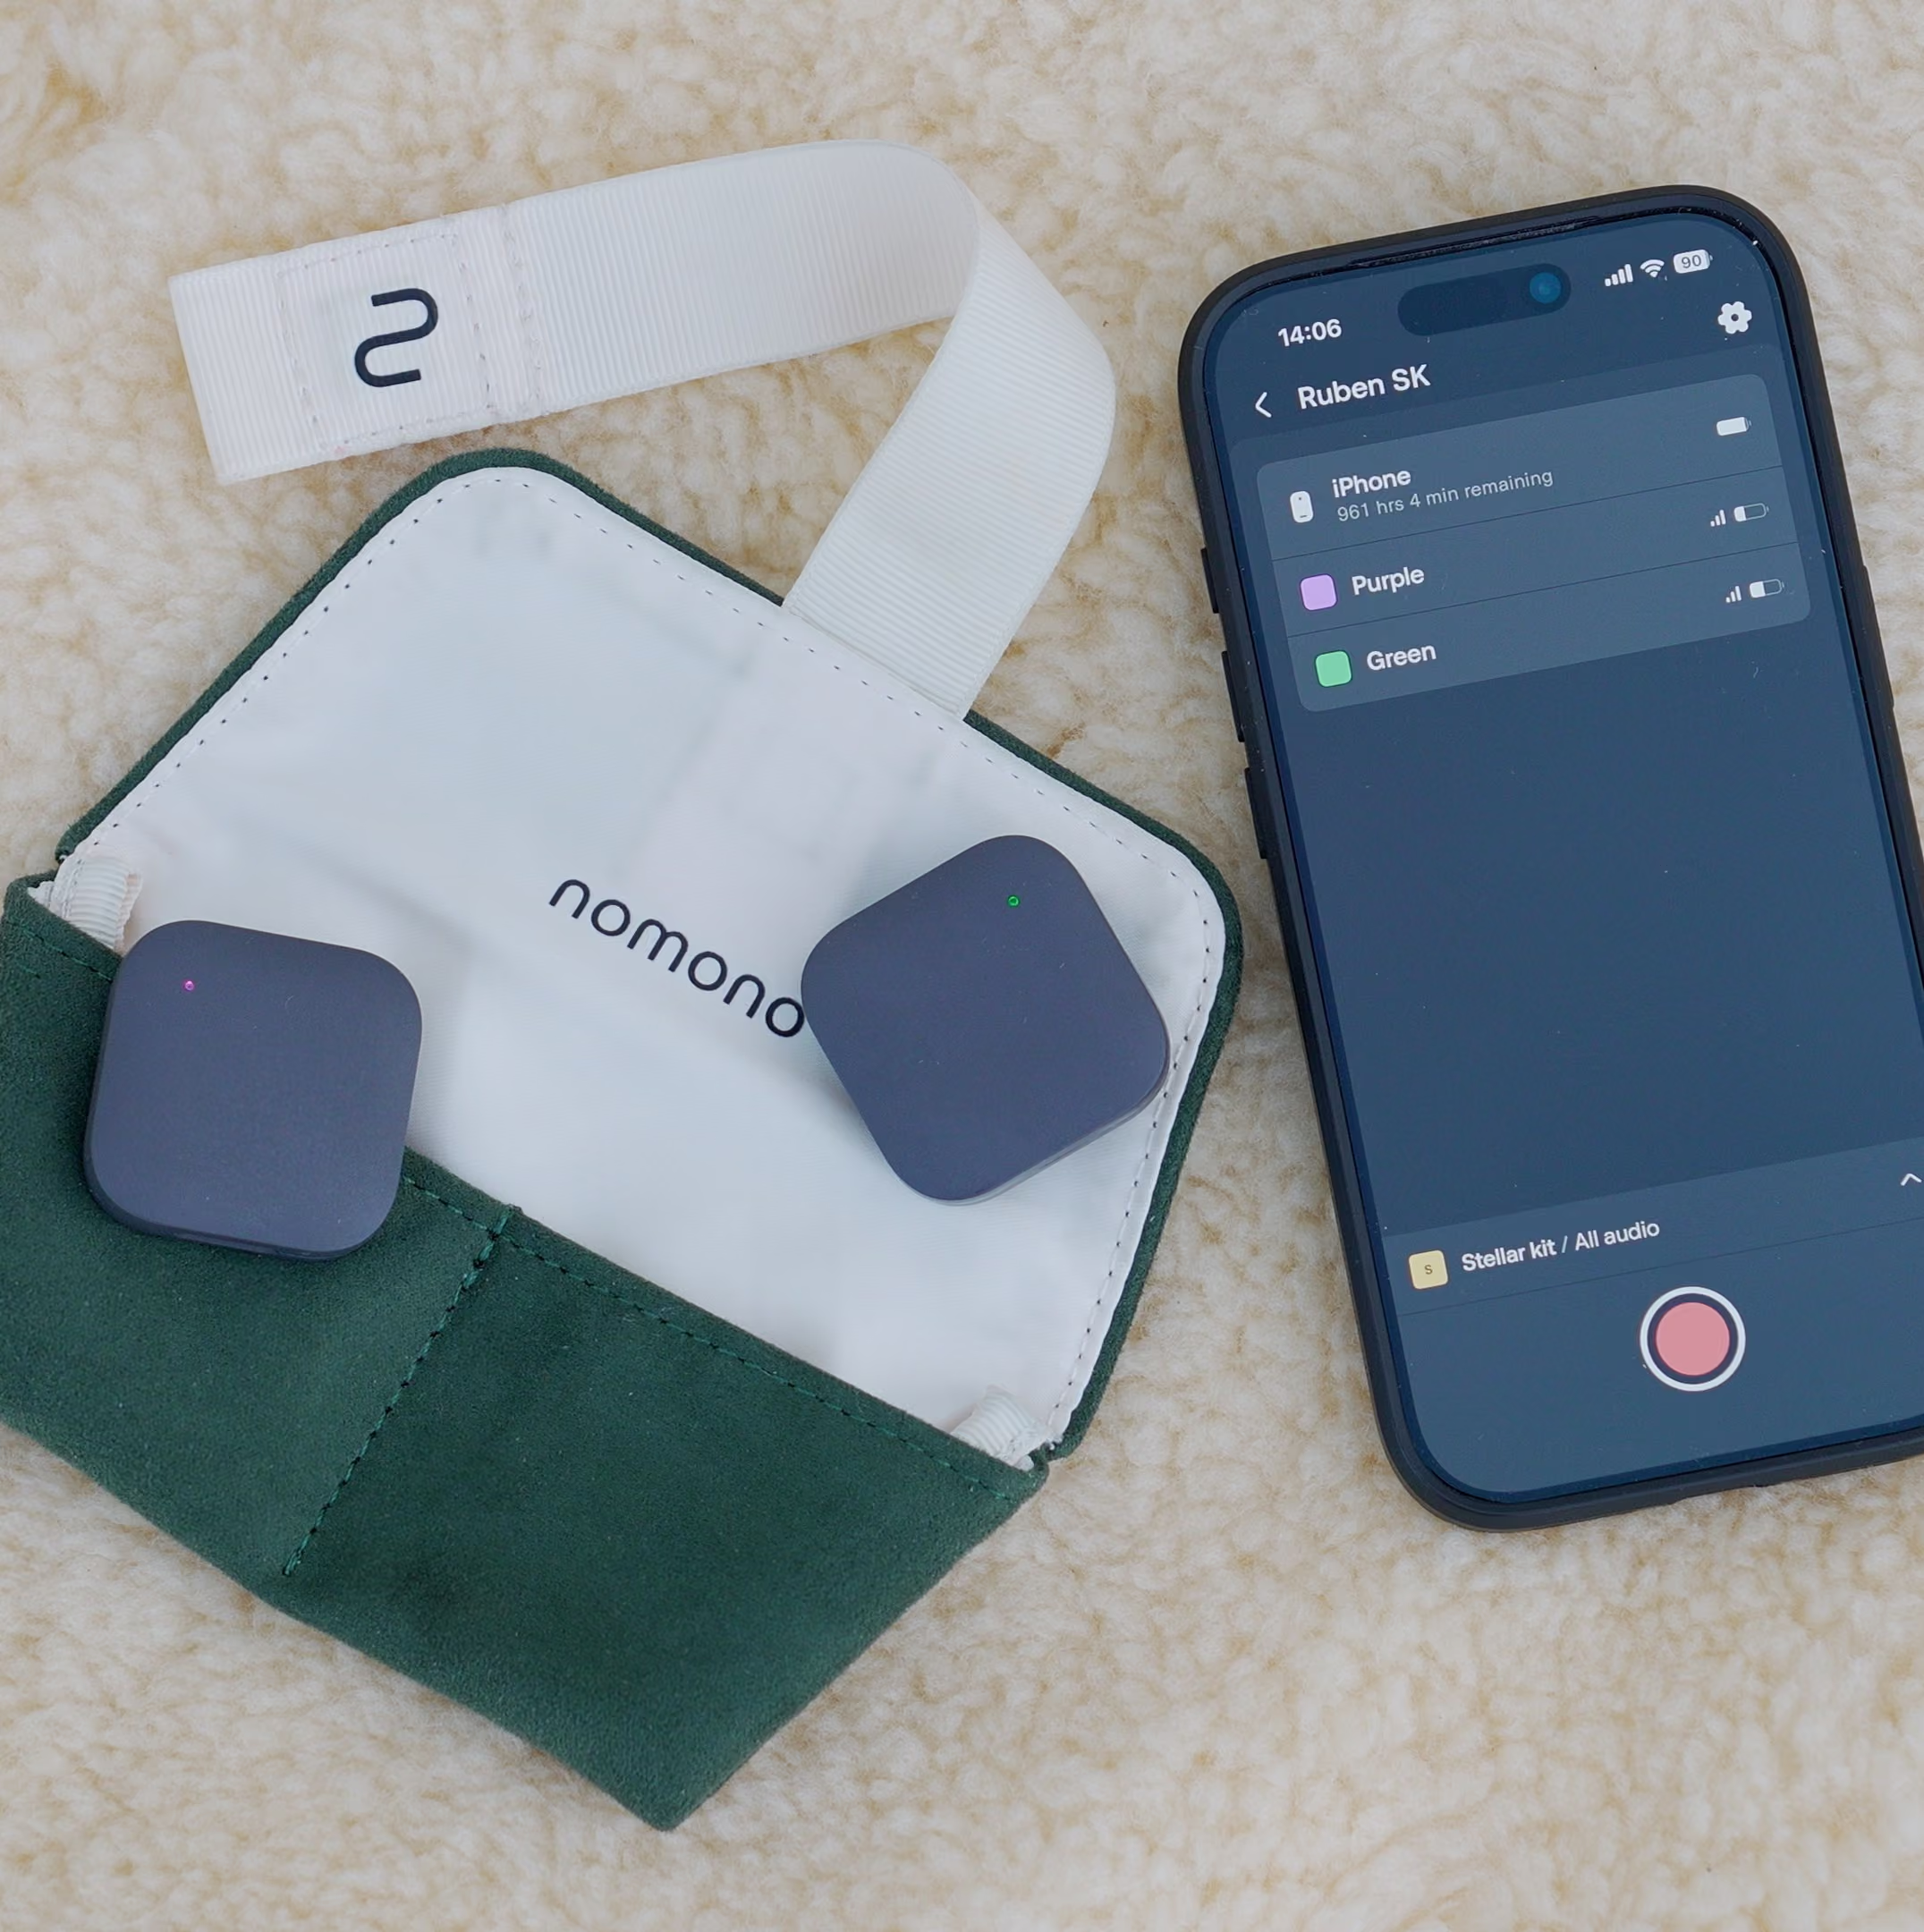
Nomono built the Sound Capsule for exactly those situations: a 2.9 lb kit with four Stellar wireless lav mics and a Space Recorder that captures each person on a separate track, with Studio Cloud handling noise reduction and level matching in the cloud afterwards. The Premium plan runs $1,188 upfront for the first year (Sound Capsule hardware plus 12 months of Studio Cloud Premium), then $99/mo. For solo and two-person shows, the Professional plan is $348 upfront for year one (Stellar Kit plus 12 months of Studio Cloud Professional), then $29/mo; full details sit on the Studio pricing page. Before spending anything, run an episode through the four steps. Audio quality has a direct bearing on podcast growth and monetization, and the free fixes capture most of the gain.
Fix four things: hold the mic a hand's width (thumb-to-pinky) from your mouth, record in a room with soft surfaces, keep your voice peaking near -12dB with music 10-15dB below it, and monitor through headphones while speaking slightly off-axis. Those four changes address the causes of most audio complaints and cost nothing.
Roughly a thumb-to-pinky hand span, about 15-20 cm. That distance keeps your voice loud relative to the room, which is what makes a recording sound clean. Closer than that invites boominess and plosives; farther away lets room noise and echo rise against your voice. Lean back slightly for laughs or shouting to avoid distortion.
Record with your voice peaking around -12dB on the meter. That leaves headroom for loud moments without clipping and avoids recording so quietly that you amplify noise later. Keep background music 10-15dB below the voice, peaking around -22 to -27dB, so speech stays easy to follow on any playback device.
Echo comes from the room, not the microphone. Hard parallel surfaces reflect your voice back into the mic milliseconds late, which listeners hear as ring or hollowness. Record somewhere with carpets, curtains, and soft furniture, or add absorption with a duvet, cushions, or an open wardrobe. A single clap test tells you quickly whether a room is usable.
Speak across the front of the microphone instead of directly into it. Plosives are bursts of air hitting the capsule head-on, so a slight off-axis angle lets them pass by while your voice still registers fully. A pop filter or foam windscreen helps if you have one, but angle alone removes most pops at no cost.
Yes. Headphones let you hear what the microphone is actually capturing while you can still do something about it. Plosives, handling noise, a guest drifting off-mic, and distortion all get caught in real time and re-taken on the spot. Without monitoring, those problems surface in the edit, where some of them cannot be fixed.
Yes, if you apply the same fundamentals. Hold the phone's mic a hand span from your mouth, record in a soft-furnished room, and keep your levels consistent. A phone in a treated space beats an expensive mic in an echoey one. Upgrade hardware once your content is established and the phone becomes the clear bottleneck.
Set music 10-15dB below the voice. With speech peaking at -12dB, music should peak around -22 to -27dB. Music mixed louder than that forces listeners to strain for words, especially on phone speakers and cheap earbuds, so check the balance on small speakers as well as headphones before publishing.
Buy gear when the setup, not the technique, is the constraint: recording three or four people at once, working on location in rooms you cannot treat, or losing hours to audio cleanup every episode. For a solo desk show, the free fixes usually suffice. Multi-person and field recording is where dedicated systems like the Nomono Sound Capsule earn their cost.
Enjoy free express shipping to the listed locations within 2–5 business days.
 Austria
 Belgium
 Bulgaria
 Croatia
 Cyprus
 Czech Republic
.svg) Denmark
Denmark Estonia
 Finland
 France
 Germany
 Greece
 Hungary
 Ireland
 Italy
Italy Latvia
 Lithuania
 Luxembourg
 Malta
Malta Netherlands
 Norway
 Poland
 Portugal
 Romania
 Slovakia
 Slovenia
 Spain
Spain Sweden
 United Kingdom
 United States