Podcasting guides
October 20, 2026



Podcast editing follows six steps: organize your raw files, clean up the audio, cut the content, balance speaker levels, set loudness for your publishing platform, then export and review. Studio Cloud handles cleanup and editing in one browser workflow, while a DAW such as Reaper or Adobe Audition suits heavier sound-design work.
Podcast editing is the work of shaping a raw recording into a finished episode: removing distractions, tightening pace, evening out voices, and preparing the file for publishing. Audio enhancement is a different job. Enhancement improves the sound itself, reducing room noise and reverb, while editing decides what the listener hears and in what order. The two overlap in practice, which is why this guide treats cleanup as the first step of the editing workflow rather than a separate discipline.
Sound quality still sets the ceiling on everything editing can do. A clean source recording turns editing into creative shaping; a noisy one turns it into repair work. The commercial case for getting quality right, from listener retention to sponsorship rates, is covered in our guide to why audio quality impacts podcast growth and monetization. Here, quality matters only where it changes what you do at each editing step.
Every editing workflow, whatever the software, moves through the same six stages. The table below shows each stage, roughly how long it takes for a one-hour conversational episode, and which tools handle it well.
| Stage | What it does | Typical time cost (1-hour episode) | Tools that handle it |
|---|---|---|---|
| 1. Organize files | Collect, label, and back up every track | 10-15 minutes | Studio Cloud (auto-upload), any file system |
| 2. Clean up audio | Remove noise, reverb, and level problems at the source | Minutes automated; 30-60 minutes manual | Studio Cloud enhance, Adobe Audition, iZotope RX |
| 3. Cut content | Remove tangents, false starts, and dead air; tighten pacing | 1-2 hours | Studio Cloud, Descript, Reaper, Audacity |
| 4. Balance levels | Even out each speaker against the others | 15-30 minutes | Studio Cloud, any DAW with per-track gain |
| 5. Set loudness | Normalize the whole episode to a platform target | 5-10 minutes | Studio Cloud export, Auphonic, DAW loudness meters |
| 6. Export and review | Render the final file and run a listening pass | 30-60 minutes | Any of the above |
Budget two to four hours of editing per hour of raw tape when working manually in a DAW. Automated cleanup and text-based cutting compress that meaningfully, which is the main reason integrated tools have displaced traditional DAW workflows for conversation-driven shows.
File organization saves more editing time than any plugin. Before opening an editor, gather every track from the session, name each file by speaker and date, and store a backup copy somewhere other than your working drive. A one-hour multitrack session can run to several gigabytes, and re-recording a lost interview is rarely an option.
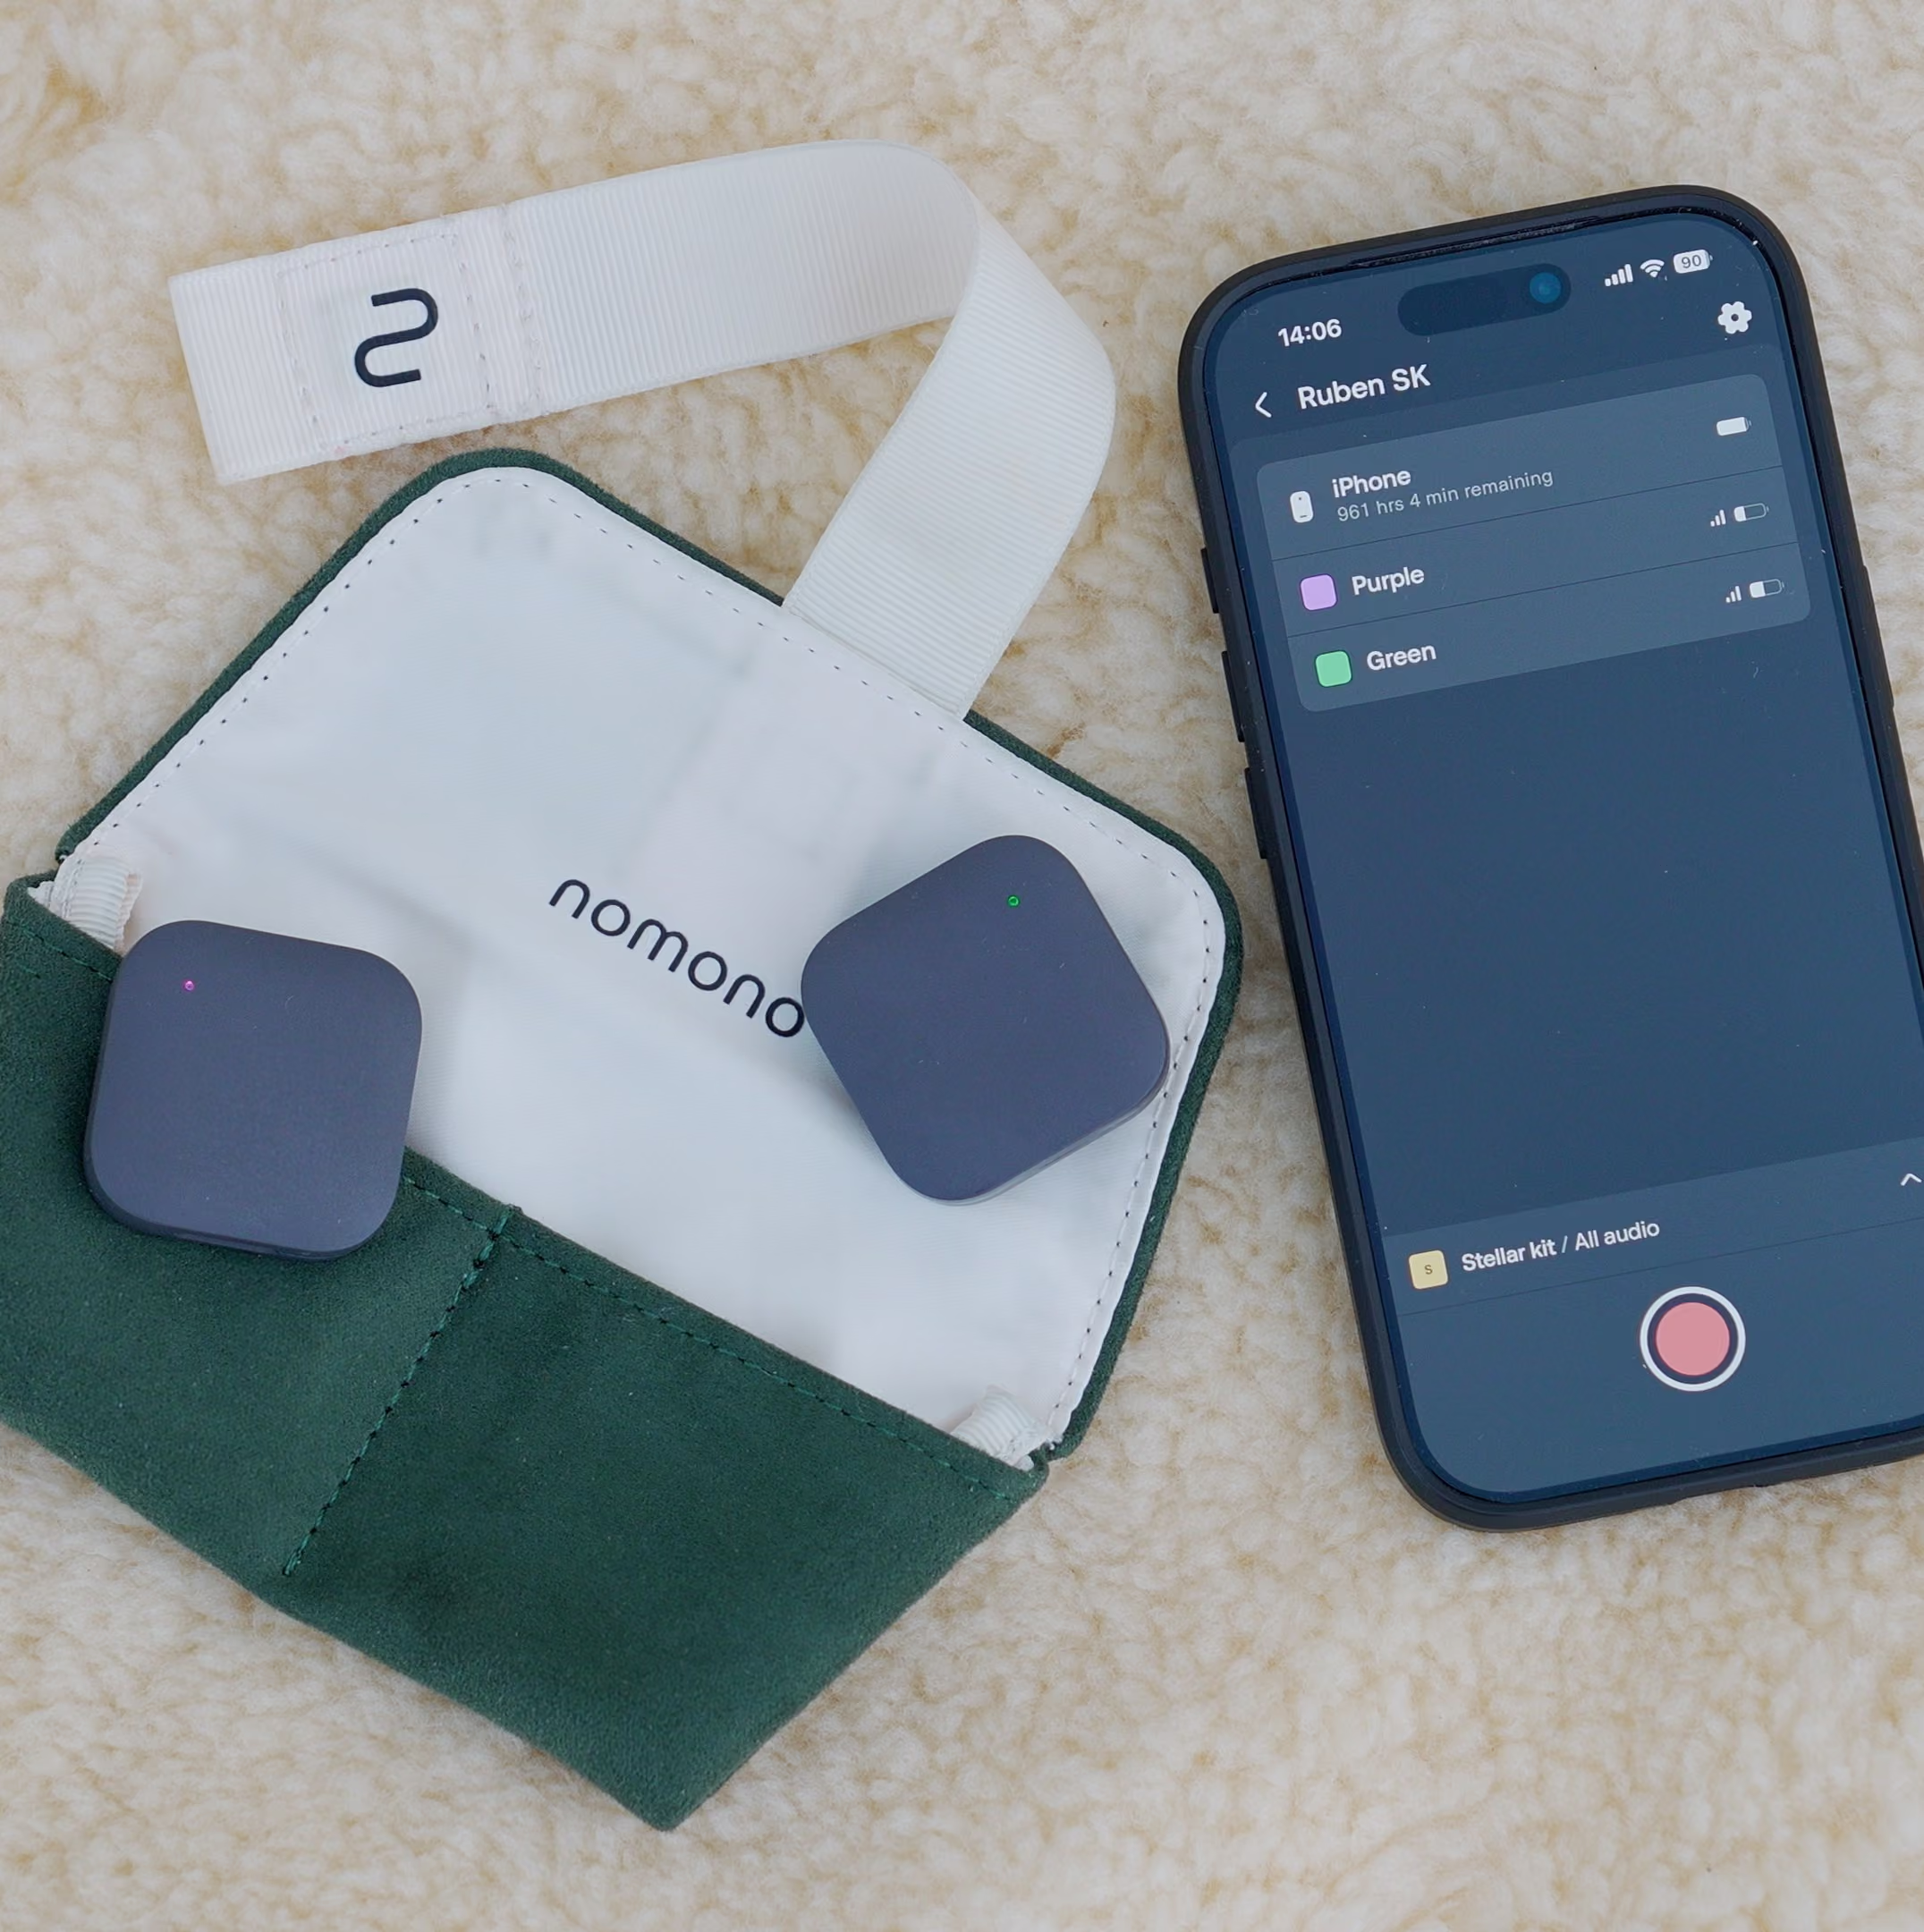
Separate tracks per speaker matter here. A single mixed recording forces every later decision, from noise reduction to level balancing, to apply to everyone at once. Recording setups built for editing, like the Nomono Sound Capsule, capture each of four speakers as an individual mono WAV and upload the files to the cloud automatically, so organization and backup happen before you sit down. For the recording side of this equation, see our guide to how to record a podcast.
Cleanup comes before cutting for one practical reason: pacing decisions depend on hearing the audio as listeners will hear it. A pause that feels dead over room hiss often works fine once the hiss is gone, and a breath you would cut from a noisy track may read as natural on a clean one. Editors who cut first and clean second end up revisiting their cuts.

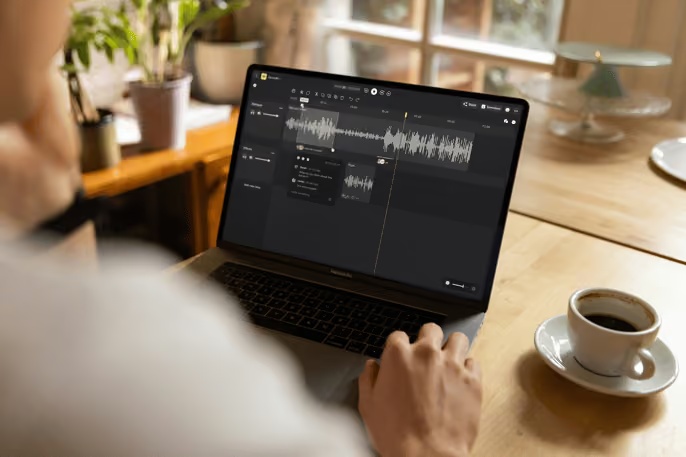
Cleanup targets four problems: broadband noise (hiss, air conditioning, traffic), room reverb, plosives and mouth noise, and clipped or distorted passages. In Studio Cloud, the Enhance function handles noise, reverb, and leveling in one automated pass on each speaker's track, which takes minutes rather than an afternoon of plugin chains. Manual tools such as iZotope RX or Audition's spectral repair give finer control and remain the right choice for badly damaged audio, like a clipped track or a phone ringing over a key answer.
Field recordings need this step most. Episodes captured outside a treated room carry environmental noise that no cut can hide, and our guide to recording a podcast outside the studio covers how to capture cleaner source material in the first place.
Content cutting is where the episode takes shape, and the goal is a conversation that sounds natural at a better pace, with no audible trace of the edit. Work through the episode in this order: remove false starts and restarts, cut tangents that do not serve the topic, trim dead air longer than a couple of seconds, then reassess filler words. Leave some ums in. A conversation stripped of every hesitation sounds robotic, and listeners notice the unnatural rhythm before they could name what changed.
Structural work belongs in this step too. Add your intro and outro, place any mid-roll markers, and drop in transitions between segments. Keep music beds a few decibels below speech so they never compete with a voice.
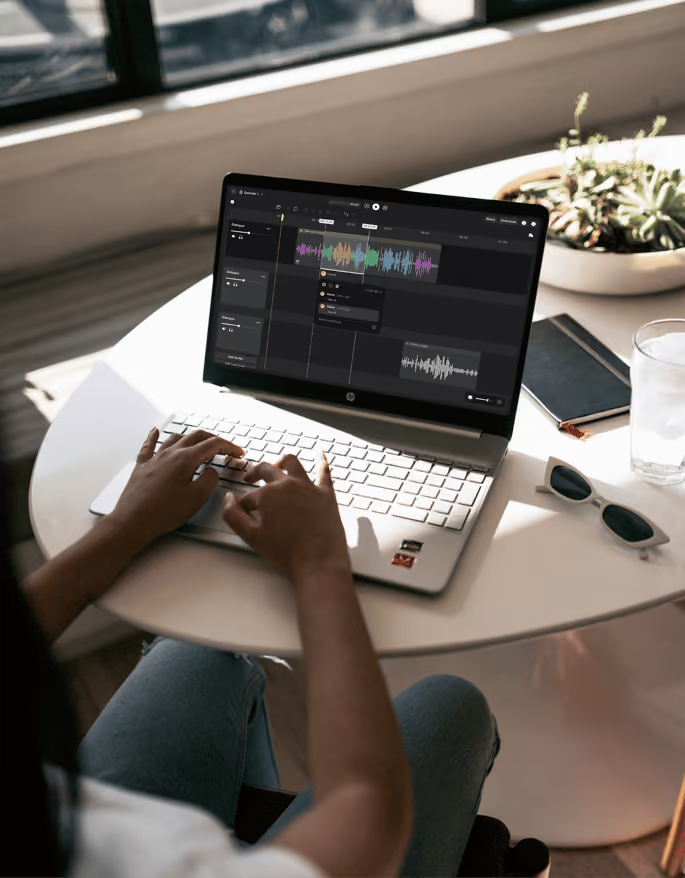
Tooling shapes how this step feels. Text-based editors, generate a transcript and let you cut audio by deleting words, which is faster for interview shows and lets producers who are not audio engineers make edits. Waveform editing in a DAW gives frame-level precision, which matters for comedy timing, overlapping speakers, or music-heavy formats. Many teams use both: rough cuts in text, fine trims on the waveform.
Level balancing means making every voice sit at a consistent, comparable volume so listeners never reach for the volume control. Uneven levels are the most common tell of an amateur edit: a quiet guest against a loud host forces the audience to strain, then flinch. Aim for speech that averages around the same perceived loudness on every track, with natural dynamics preserved within each voice.
Per-speaker tracks make this a short job. With each voice isolated, you apply gain or compression to one speaker without touching the others. Studio Cloud's Enhance levels each speaker automatically as part of cleanup, and its four isolated tracks from the Stellar wireless mics mean a boost for a soft-spoken guest never drags up the room noise behind the host. In a DAW, the same result comes from per-track gain automation or a compressor with makeup gain, which takes longer and rewards experience.
Loudness normalization is a distinct step from level balancing: it sets the overall perceived loudness of the finished episode to a measured target, so your show plays at the same volume as everything else in a listener's feed. Loudness is measured in LUFS. As of 2026, Apple Podcasts' delivery documentation recommends an overall loudness of -16 LUFS for stereo files, and Spotify's creator documentation states it normalizes playback to around -14 LUFS. Export near -16 LUFS with true peaks no higher than -1 dBTP and your episode will translate well across platforms.
Skipping this step has a real cost. An episode exported hot gets turned down by the platform, and one exported quiet either gets boosted, raising its noise floor, or stays quiet next to every other show. Studio Cloud levels every voice during enhancement; for the final loudness check, or in a DAW, use a loudness meter and limiter on the master bus.
Export settings for a spoken-word podcast are settled territory: MP3 at 128 kbps for mono or 192 kbps for stereo, 44.1 kHz sample rate, with your show name, episode title, and artwork in the file's metadata. WAV masters are worth archiving before compression in case a sponsor, network, or future remaster needs full quality.
The final listening pass is the step most often skipped and most often regretted. Play the exported file start to finish, ideally on the cheap earbuds or phone speaker your audience actually uses, and listen for abrupt cuts, level jumps between segments, and any artifact the enhancement pass introduced. Thirty minutes here catches the mistakes that otherwise arrive as listener comments. If your episode pairs with video, sync the finished audio before publishing; our walkthrough on syncing Nomono audio with your camera covers that step.
Studio Cloud fits shows where the content is conversation: interviews, panels, narrative episodes built from field tape. Recordings from the Sound Capsule or Stellar Kit land in the browser automatically, enhance runs in minutes, cutting works from the transcript, and collaborators can review without installing anything. Plans start at $348 for the first year on Nomono's Studio pricing page, which includes the hardware kit.
A DAW earns its complexity in specific cases. Choose Reaper, Logic Pro, Audition, or Audacity when your show involves layered sound design, original music mixing, surgical repair of damaged audio, or mastering chains you want full control over. Plenty of producers run a hybrid workflow: capture and enhance in Nomono, then export the cleaned multitrack files into a DAW for the final mix. Honest rule of thumb: if your bottleneck is time spent on cleanup and cutting, an integrated tool wins; if your bottleneck is creative sound work, a DAW does. For hardware choices around either path, see the podcast equipment buyer's guide.
The best way to edit a podcast is a six-step workflow: organize and back up raw files, clean up the audio, cut the content, balance speaker levels, normalize loudness to your platform's target, then export and review. Studio Cloud covers all six steps in the browser for conversation-driven shows, while DAWs suit heavier sound-design work.
Expect two to four hours of editing for a one-hour episode when working manually in a DAW. Clean source recordings and automated cleanup shorten that substantially, since noise repair and level correction are the slowest manual tasks. Text-based cutting compresses the content-edit stage further, so an integrated workflow can bring a straightforward interview episode down to roughly an hour of hands-on work.
Yes. Browser-based tools like Studio Cloud and Descript handle cleanup, cutting, level balancing, and export without a traditional DAW, using transcripts so you edit audio by editing text. A DAW becomes necessary only for layered sound design, original music mixing, or surgical repair of damaged recordings. Most interview and conversation shows never hit those limits.
Export at around -16 LUFS integrated loudness with true peaks no higher than -1 dBTP. As of 2026, Apple Podcasts' delivery documentation recommends -16 LUFS for stereo files, and Spotify's creator documentation normalizes playback to around -14 LUFS, so a -16 LUFS master translates well across both. Studio Cloud levels every voice during enhancement, so check the exported file against your platform's loudness target.
No. Cut filler words only where they obscure meaning or slow the pace, and leave enough hesitation for the conversation to sound human. Over-edited episodes develop an unnatural rhythm that listeners register as off even when they cannot name the cause. A good test: if you notice an edit on playback, soften it.
Podcast editing shapes the content: which moments stay, in what order, at what pace. Audio enhancement improves the sound itself: less noise, less reverb, consistent levels. Enhancement should come first in the workflow, because pacing decisions depend on hearing the audio the way listeners will. Studio Cloud bundles both, running enhancement as an automated pass before you start cutting.
Export spoken-word podcasts as MP3 at 128 kbps for mono or 192 kbps for stereo, at a 44.1 kHz sample rate, with episode metadata and artwork embedded. Keep an uncompressed WAV master archived before the MP3 render, so you can re-deliver full quality if a network, sponsor, or future platform requires it.
Fix uneven volumes by adjusting each speaker's track separately: apply gain or gentle compression to the quiet voice until all speakers sit at a comparable perceived loudness. Separate tracks per speaker make this possible, which is why multitrack recorders matter. Studio Cloud levels each speaker automatically during its Enhance pass; in a DAW, use per-track gain automation or a compressor with makeup gain.
Separate tracks are strongly recommended. Isolated tracks let you fix one voice, cut one speaker's crosstalk, or remove one person's background noise without touching anyone else. A single mixed file forces every correction onto all speakers at once. Systems like the Nomono Sound Capsule record four speakers as individual mono WAVs for exactly this reason.
Enjoy free express shipping to the listed locations within 2–5 business days.
 Austria
 Belgium
 Bulgaria
 Croatia
 Cyprus
 Czech Republic
.svg) Denmark
Denmark Estonia
 Finland
 France
 Germany
 Greece
 Hungary
 Ireland
 Italy
Italy Latvia
 Lithuania
 Luxembourg
 Malta
Malta Netherlands
 Norway
 Poland
 Portugal
 Romania
 Slovakia
 Slovenia
 Spain
Spain Sweden
 United Kingdom
 United States