Podcasting guides
October 15, 2026



To remove background noise from a recording, fix it in two passes. At capture, turn off the noise source, move the mic closer and record 20 to 30 seconds of room tone. In post, cut low rumble with a high-pass filter, treat hum with a notch filter, then apply gentle noise reduction or AI enhancement to what is left, and edit out one-off sounds.
Noise reduction is a repair, and every repair costs the voice something. A denoiser has to guess which part of the signal is the person and which part is the room. The closer the two are in level, the worse that guess gets, and the more the voice suffers when you remove the room.
Signal-to-noise ratio decides almost everything downstream. A clip-on mic on the chest, close to the mouth, records a voice that sits well above the air conditioning, so a light cleanup pass finishes the job. The same room recorded from a mic on a table a couple of feet away gives you a voice and a room at similar levels, and no tool fully separates them. Our article on what makes a recording sound professional makes the same point from the capture side.

Work in this order. Each step reduces how much the next one has to do, and skipping straight to a denoiser is why so many cleaned-up recordings sound processed.
Before anyone sits down, listen to the room through headphones plugged into the recorder, not just with your ears. Refrigerators, HVAC vents, projector fans, buzzing lights and chargers are the usual suspects. A minute spent unplugging a mini fridge saves a lot of repair work later.
Clip-on mics belong on the chest, roughly a hand's width below the chin, attached to fabric that does not rustle. Handheld and tabletop mics should be a few inches from the mouth. Closer placement is the single biggest improvement you can make.
Ask everyone to stay silent and record 20 to 30 seconds of the empty room on the same mics at the same settings. Many noise reduction tools learn the noise from a sample like this, and editors use it to fill gaps under cuts.
Play back a few seconds and listen to the gaps between words. If you can clearly hear the background in those gaps at normal listening volume, listeners will hear it in the finished episode. Fix the room now if you can.
A high-pass filter around 80 Hz on speech tracks removes traffic rumble, handling thumps and low air conditioning roar without touching the voice. Electrical hum in the US sits at 60 Hz with harmonics above it, so a notch or de-hum filter at that frequency clears it more cleanly than broadband reduction.
Use your room tone as the noise sample, then reduce the amount until the artifacts disappear. Start light, compare with the raw file, and stop as soon as the voice starts to sound thin or watery. AI enhancement tools trained on speech are an alternative to this step and often handle difficult rooms better, but they can also overdo it, so always compare.
Chair creaks, coughs, door slams and dropped objects survive every denoiser. Cut them, crossfade the join, and lay room tone under the gap so the silence matches the rest of the recording.
Compression raises quiet passages, which also raises any noise that survived. Do cleanup before compression and loudness normalization, then check the result on headphones and a phone speaker.
Match the tool to the noise. Broadband reduction applied to a problem that needed a filter is how recordings end up thin and swirly.
| Noise type | What it sounds like | Fix that works | What to avoid |
|---|---|---|---|
| Electrical hum | Steady low buzz at 60 Hz plus harmonics | Notch or de-hum filter at 60 Hz and harmonics | Heavy broadband reduction |
| Air conditioning, fans | Constant wash of air | Turn it off; else gentle reduction from room tone | Heavy reduction that makes consonants ring |
| Hiss | Steady high sizzle | Gentle broadband reduction | Raising gain in post, which lifts hiss too |
| Traffic, building rumble | Low movement under the voice | High-pass filter around 80 Hz on speech | High-passing music beds the same way |
| Clothing rustle | Scratching on one speaker | Re-clip the mic; edit out bad hits | Denoising the whole track |
| Room echo | Hollow, distant speech | Closer mic, softer room, de-reverb or AI enhancement | Standard noise reduction, which barely helps |
| One-off sounds | Cough, door, siren | Cut and fill with room tone | Expecting a denoiser to catch them |
Salvage work starts with an honest listen. Solo each track, find the worst 30 seconds and use that as your test passage. Fixing the ugliest section first tells you quickly whether the recording can be saved or whether you need to re-record part of it.
Speech-trained AI enhancement has made more recordings salvageable, because it rebuilds the voice instead of only subtracting noise. AI audio enhancement in Studio Cloud does noise removal and audio enhancement on your uploaded recordings. Like any tool of this kind, it can be pushed too far, so compare the result with the raw file before you commit. A voice that has been processed too hard loses breath and body, and listeners notice that faster than a little hiss.
Keep your original files. A cleanup you like today may sound overcooked when you come back to the same recording months later for a clip or a trailer.

Cleanup belongs early in the chain, before compression and any creative processing. A practical order is cleanup, edit, level, then master. Do the cleanup per track rather than on the mixed file. Treating a mix means applying one setting to several different noise problems, and the result is a compromise weighted toward whoever had the worst seat.
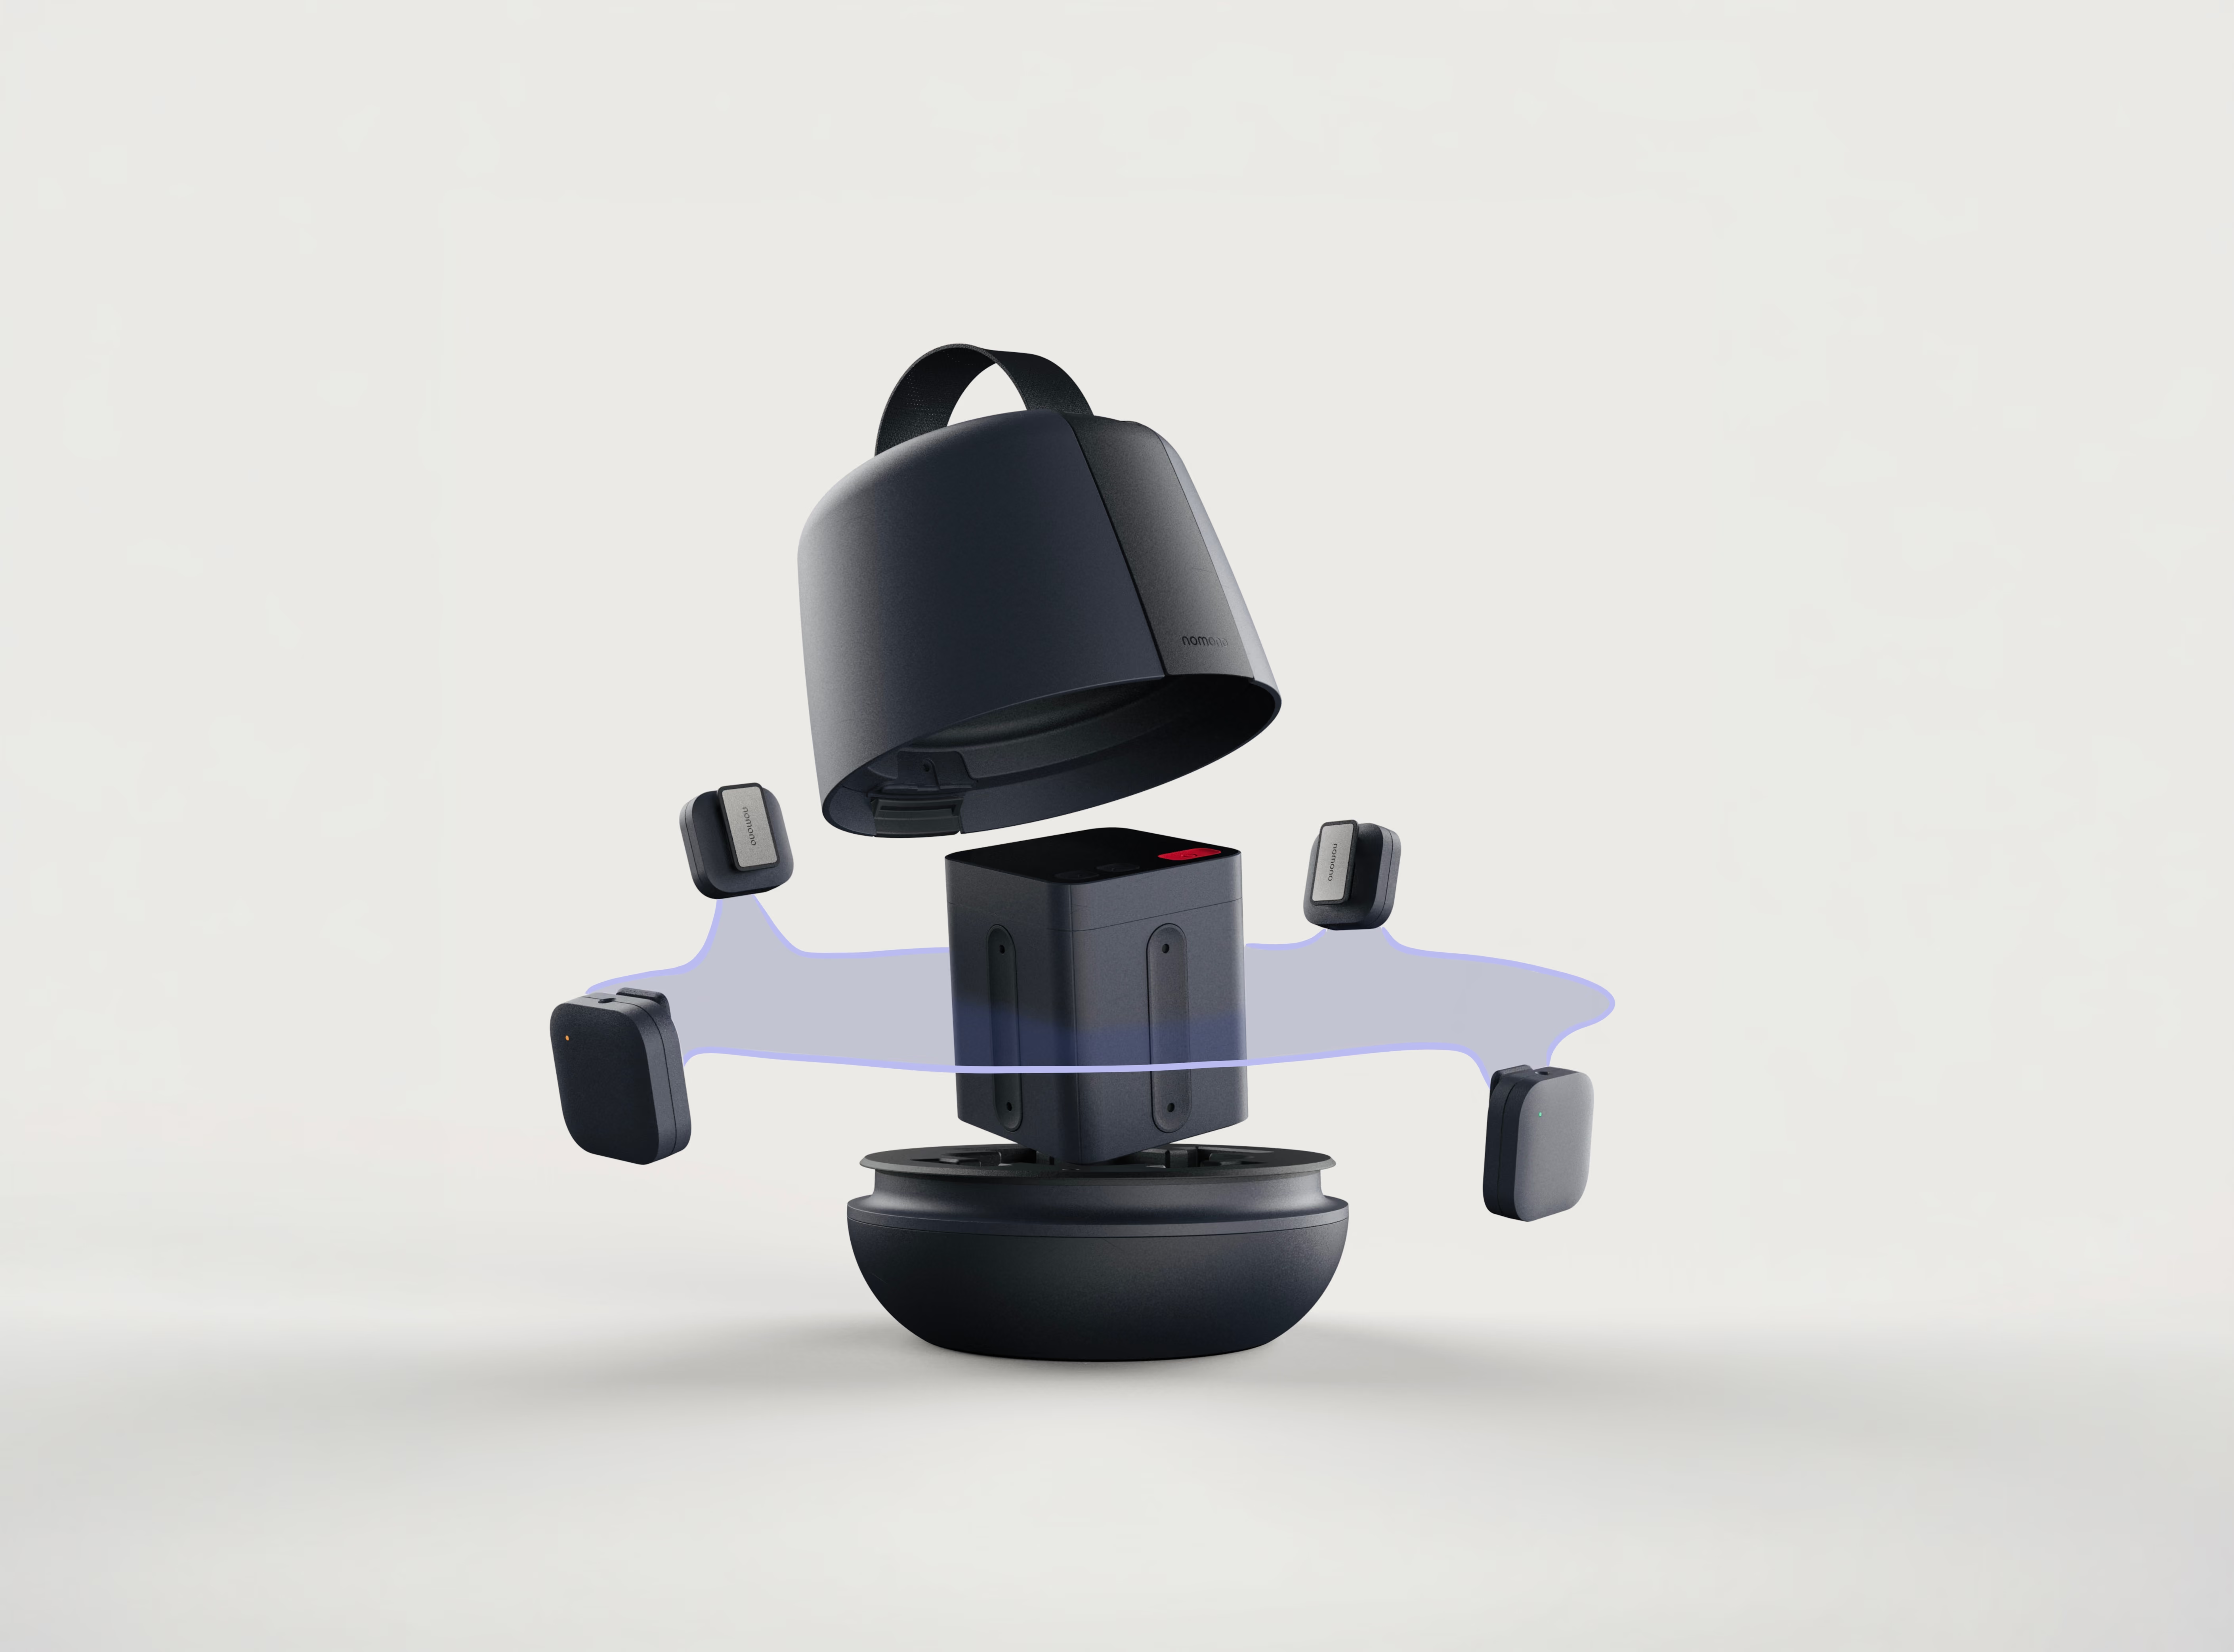
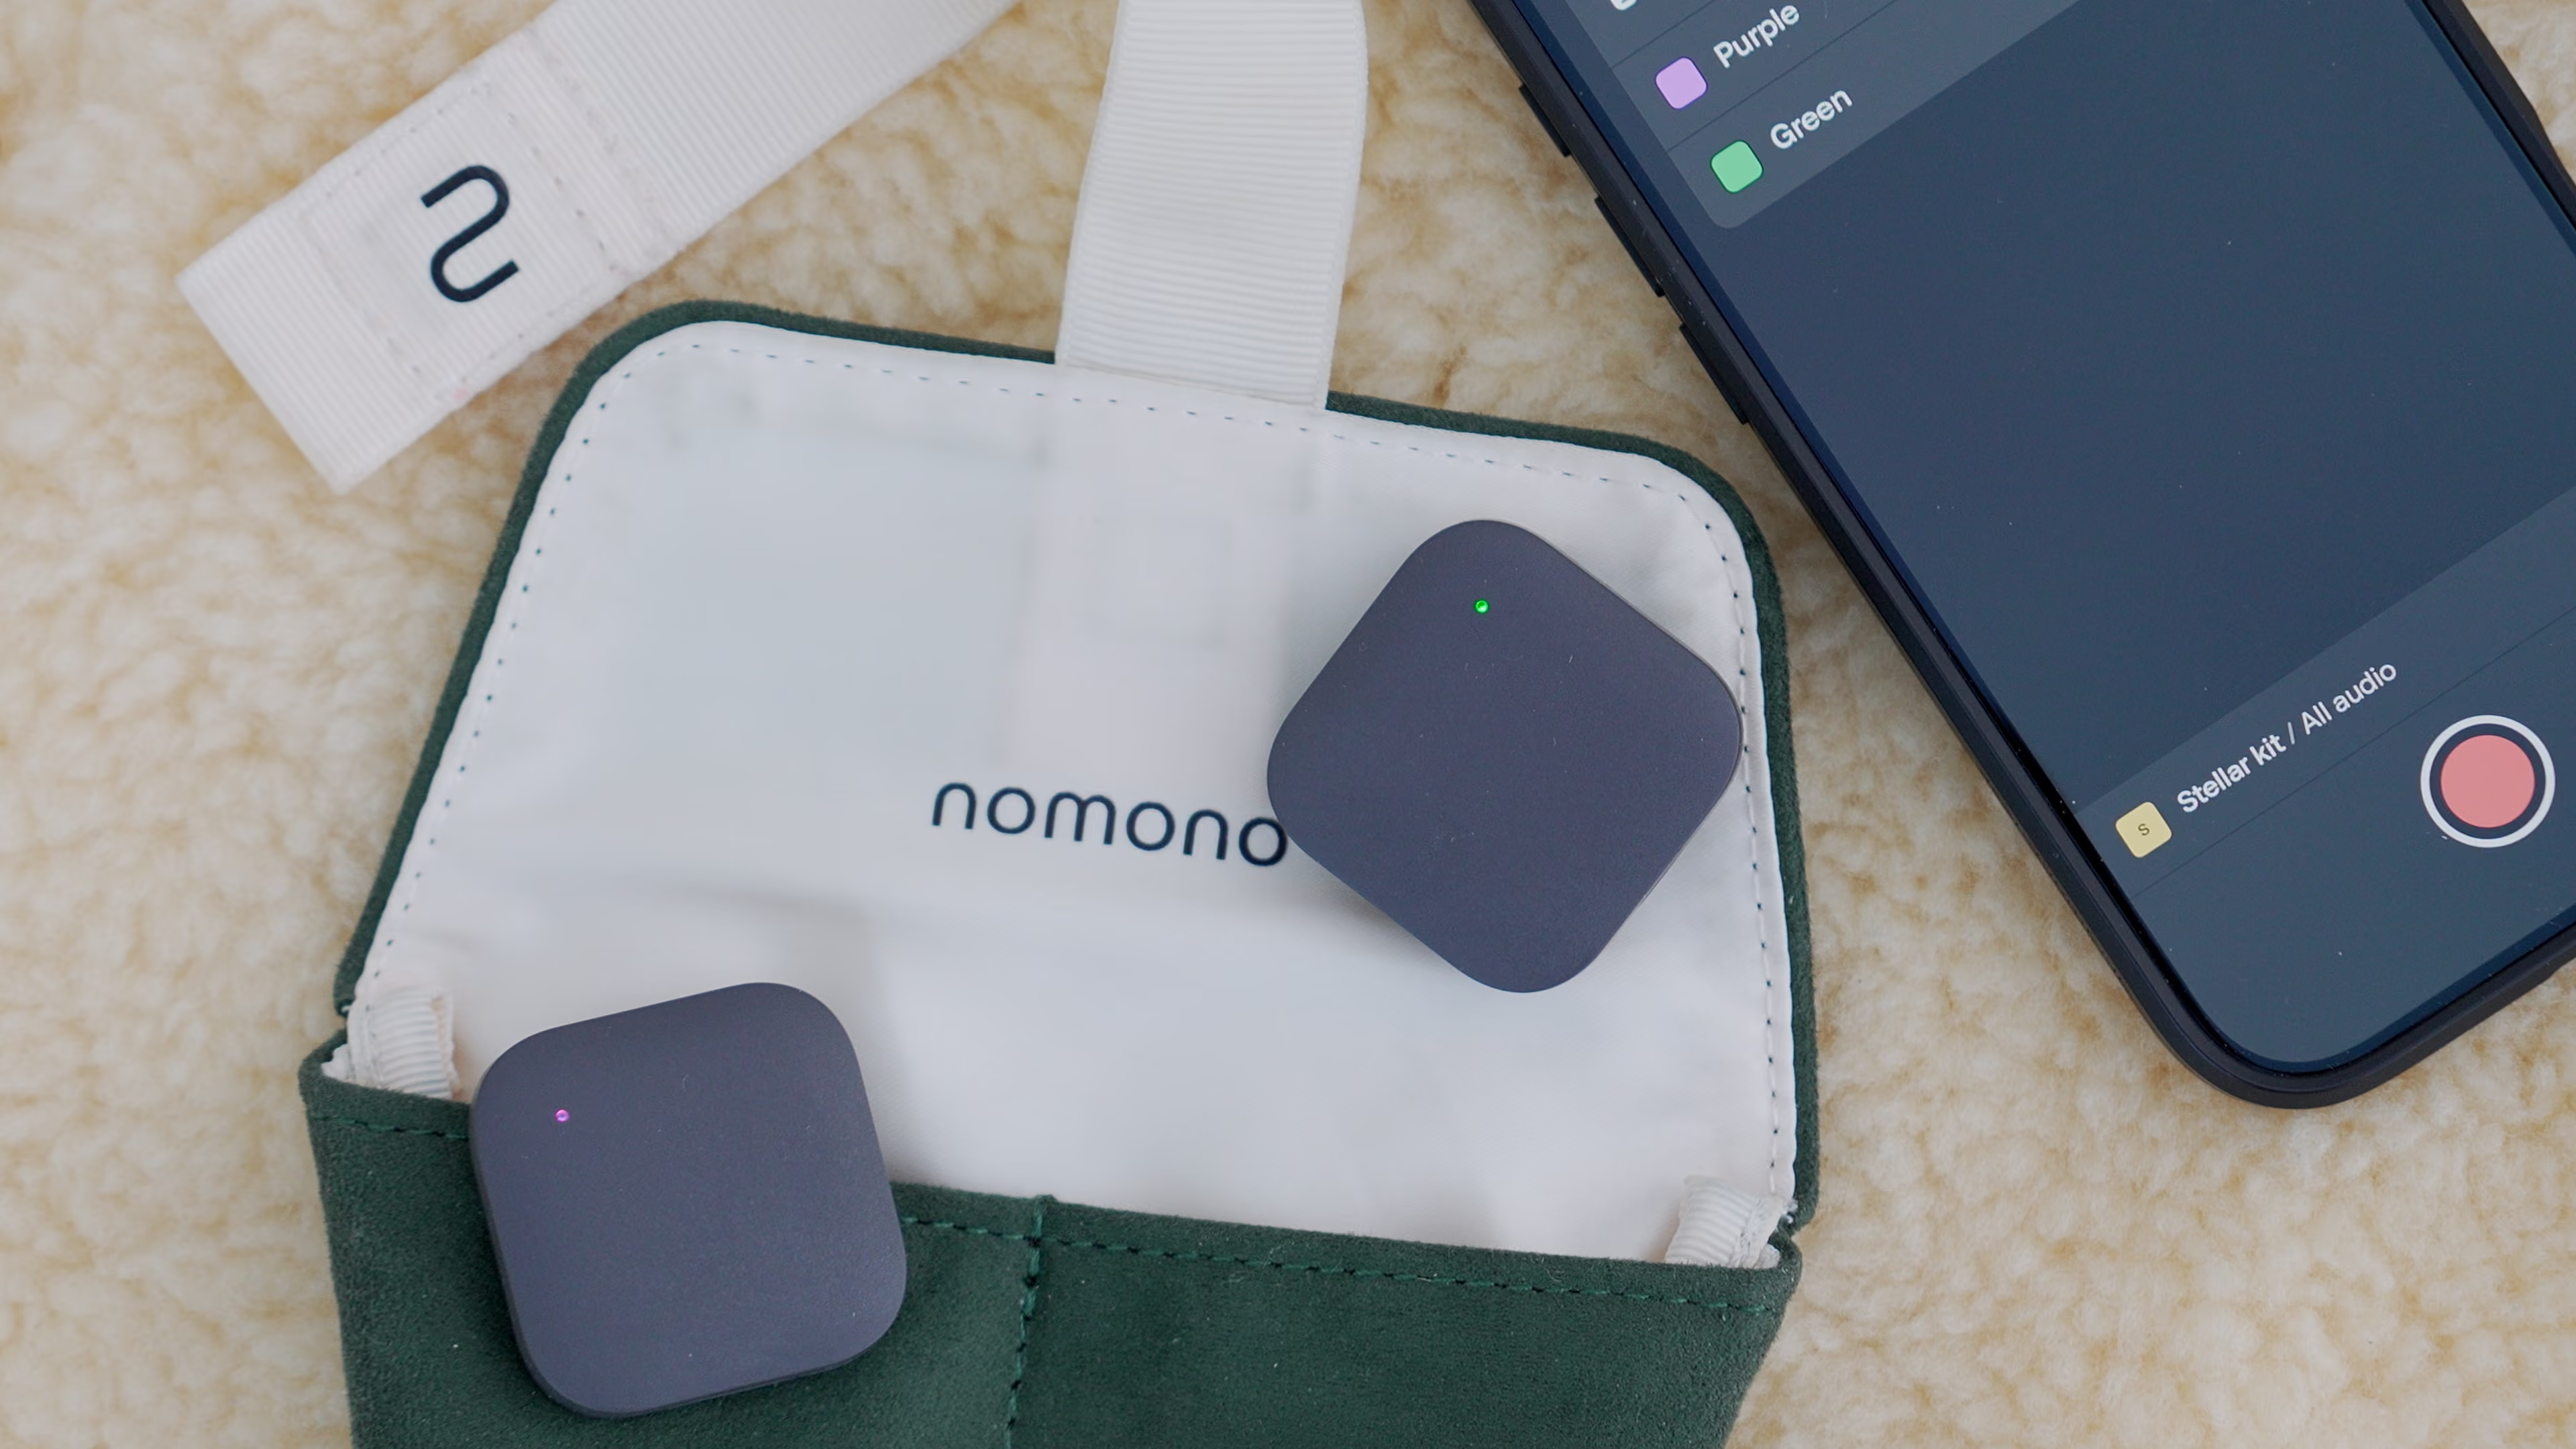
Multitrack capture is what makes per-track cleanup possible. The Nomono Sound Capsule records each of its four wireless Stellar mics to its own voice track, plus a spatial room track, so every guest arrives in the edit separately. For a host and one guest, the Stellar Kit gives you the same separation across two mics. Our step-by-step podcast editing workflow covers where cleanup sits in the rest of the edit, and four free fixes for a better-sounding podcast covers the basics of room and mic technique.
Location recording is a negotiation with a room you do not control. Arrive early and spend the first few minutes listening instead of setting up. The fixes that cost nothing are all found in that window: a closed window, an air conditioner switched off, a different corner of the room, soft furnishings moved behind the speakers.

Soft surfaces beat hard ones. In a hotel room, seat people on the bed side rather than the desk side, and hang a coat over a hard wardrobe door if voices bounce off it. Avoid pushing gain on a quiet guest, because that lifts the room along with them. The Sound Capsule and Stellar Kit use auto-levelling on every mic, which takes that job off the operator.
Be aware of the trade-off: Nomono's mics record 16-bit/48 kHz voice tracks, not 32-bit float. Recorders and wireless kits with 32-bit float, such as RØDE Wireless PRO and DJI Mic 3, are much harder to clip if a guest suddenly shouts. Clipping and background noise are different problems, though, and neither format removes noise for you. For a four-guest session, see how to record a 4-person podcast anywhere, and for site selection, how to record a podcast outside the studio.
Nomono demo: a Sound Capsule recording inside a busy coffee shop at Oslo Central Station.
Clean voices start at the mic
Studio Cloud adds AI noise removal and audio enhancement to recordings from the Sound Capsule and Stellar Kit.
Start with the free fixes: turn off the noise source, move the mic closer and record room tone. Most audio editors, including free ones, include a noise reduction effect and filters such as a high-pass filter. Use a sample of room tone as the noise reference and apply the reduction gently.
Not without affecting the voice, because speech and noise share frequencies. Steady noise such as hum or air conditioning can usually be reduced until it is hard to notice. One-off sounds, other people talking and heavy echo resist automatic removal and often need manual editing or a re-record.
For podcast dialogue, speech-trained AI enhancement usually gives the most natural results on difficult rooms, while filters handle hum and rumble cleanly. Whichever tool you use, compare the result with the raw file before you commit. The best results still come from a close mic in a quiet room.
Too much reduction causes the watery, metallic sound. Denoisers remove energy across the spectrum, and when pushed hard they also remove breath and the high end of consonants. Lower the amount until the artifacts go away and accept a small amount of even background noise.
Use a notch or de-hum filter at 60 Hz in the US (50 Hz in many other countries) and its harmonics. Broadband noise reduction dulls the voice while leaving the buzz. If the hum comes from equipment, check cables and power before the next session.
Room tone is a recording of the space with nobody speaking, on the same mics and settings as the session. Editors use it as a noise sample for cleanup and as fill under cuts so edited silences match. 20 to 30 seconds per session is enough.
Before. Compression raises quiet passages, so it also raises any noise that is still there. Clean first, then compress, then normalize loudness at the end.
The Stellar Kit is $348 and the Sound Capsule is $1,188. The Stellar Kit price includes the first year of Studio Cloud Professional with 360 minutes of AI enhancement a month, and the Sound Capsule price includes the first year of Studio Cloud Premium with 600 minutes a month. After the first year you can stay on the Free plan or continue Studio Cloud from $29/month (Professional) or $99/month (Premium); the hardware keeps working either way. Details are on the pricing page.

Written by Ruben Åeng, Lead Audio Engineer at Nomono
Audio engineer and Product Manager for spatial audio products at Nomono, with 15 years of experience in film and television sound. Before joining in 2021 he worked as a production sound mixer, dialogue editor and sound designer, with credits including the Oscar-nominated short “Night Ride”.
Enjoy free express shipping to the listed locations within 2–5 business days.
 Austria
 Belgium
 Bulgaria
 Croatia
 Cyprus
 Czech Republic
.svg) Denmark
Denmark Estonia
 Finland
 France
 Germany
 Greece
 Hungary
 Ireland
 Italy
Italy Latvia
 Lithuania
 Luxembourg
 Malta
Malta Netherlands
 Norway
 Poland
 Portugal
 Romania
 Slovakia
 Slovenia
 Spain
Spain Sweden
 United Kingdom
 United States